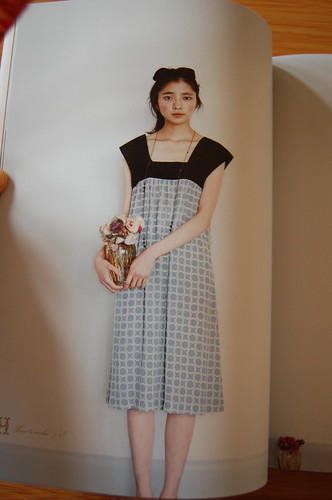
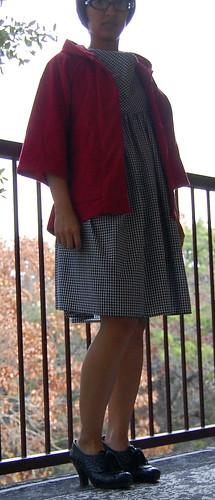
You have no idea how exciting it is to me to wear long sleeves in summer. When we went to Scandinavia 6 years ago, I was in heaven wearing long sleeves, knee socks, jeans, etc. in June. It's kind of a big deal!


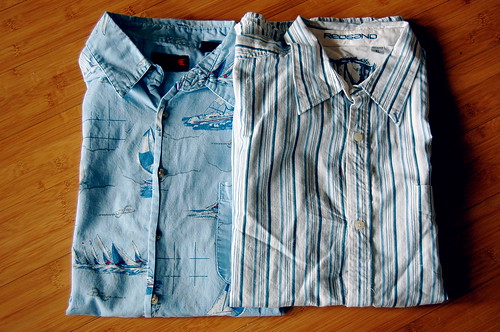


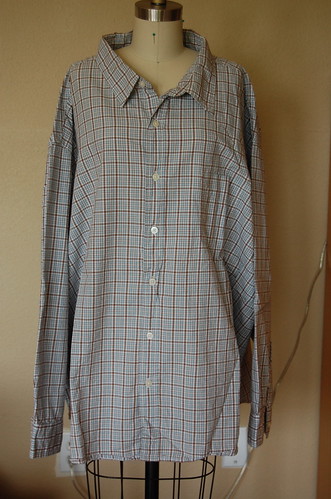


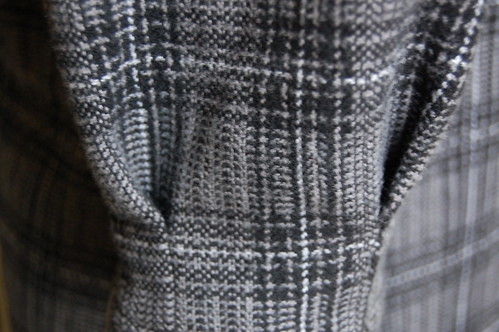
 I imagine sometimes the journey each of these shirts took before ending up in my hands. I think this one came from a young man named Jeremy, who was raised in a single-mom home in Colorado. He loved to be outside. This shirt was a gift for him from someone he loved. He didn't wear it often, but it didn't fit an Austin lifestyle. Who needs to wear cotton flannel in Austin? Maybe for one month a year. So it ended up at the thrift store, in excellent condition, and ready for my sewing hands.
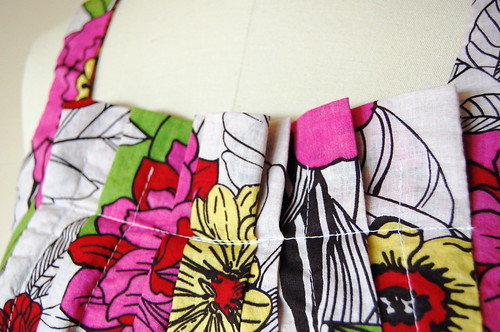
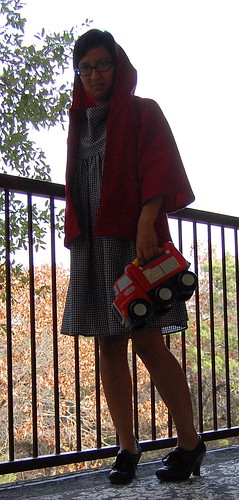
 This is one of THE iconic images of Princess Leia, right? Mega-draped tunic wonder for being camouflaged in the desert, or whatever. I find white so impractical for daily life. Why else would she wear so much white if not for survival? If I sat still and watched the whole movie I guess I would figure out why, but I'm not a Star Wars fan. (My husband, who is, shudders as he reads this whole paragraph.)


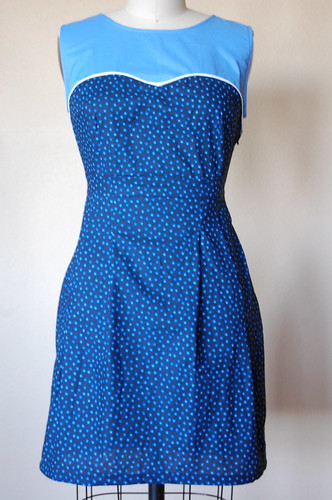
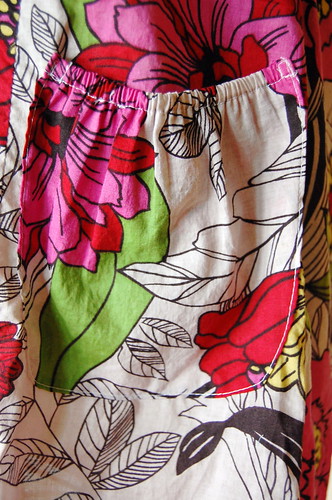
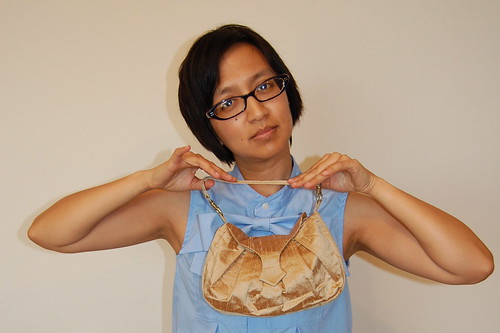
 All better now.
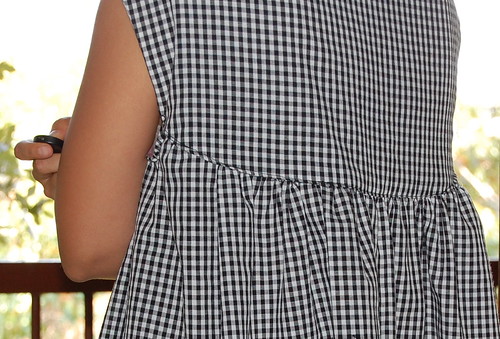

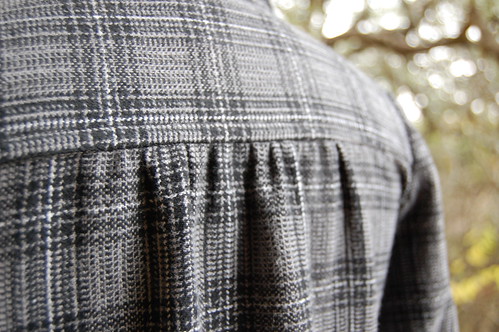
 I thrifted this shirt specifically so I could reuse the pintucked section on the refashioned shirt! All the glory with none of the pain, right? Having all those pintucks really limited my choice of shirt patterns to use, though -- no waist darts because they would interfere with that coveted pintucking. I settled on Simplicity 4179 with a single side bust dart, but knew I would probably not have enough fabric left for the peter pan collar. So I put together the 4179 bodice with my ever-loved Simplicity 4077 neckline and collar. It was really easy to do just by lining up center front and shoulder seams between the two patterns. I've had ruffled collars on the brain since Spring 2007 and thought it was now or never, so I used some excess fabric from the original long sleeves and threw the ruffle on top of the collar. Here is the end result:
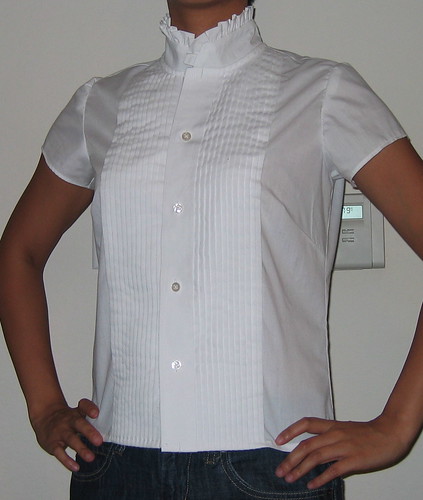 Some Editor's Notes on the experience:
