
1) THANK YOU
It has been a lot of fun to kick off Vocabulary and read your many supportive, encouraging comments... to see how many of you became Facebook fans, how many of you re-tweeted the shop opening announcement, how many of you wrote a whole new blog post to share the news! I've always enjoyed finding a place in the blogging community and making new friends in a new way. Launch weekend could have been way stressful but it ended up being very exciting and fun. Thank you for your friendship.
2) A disclaimer
This is my third time writing this post -- I actually deleted the first two drafts and started fresh each time. Because I am blogging about 3 tops, two of which I really don't care much for, and it made me tired to re-live the experience draping/ drafting/ sewing them up. And I thought if it was deflating for me to show you the pics and describe the challenges, maybe it would be deflating for you to see and read about them. But I've decided to document some of my lessons learned anyway in case they are interesting or helpful to you (and you can just close the window now and wait for the next post if you like, I would understand!).
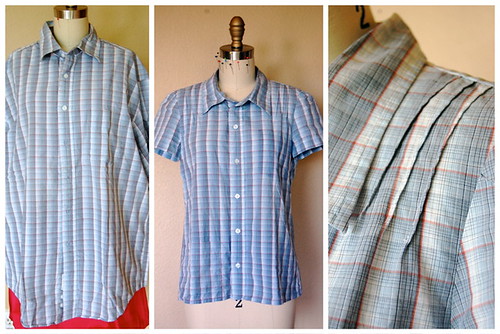
3) Refashion 26: Pintucked (Shoulder) Shirt from Men's Dress Shirt
This was my first design idea for Vocabulary's summer camp shirt variations. The original was a 100% cotton, short-sleeved men's shirt. The resulting women's shirt was challenged:
- Shoulders too wide
- Neckline too big, odd shape shape (the shirt started out collarless but I didn't like it, unpicked the binding, adjusted the original collar and sewed it on)
- Silhouette boxy, unflattering
- You can't see the pintucks on most patterned fabrics unless you're up close
So I ditched the whole concept. I'd tortured the fabric on this sample enough and still couldn't get the shirt where I wanted it. I've worn the shirt a few times and you know what? It isn't really comfortable! So I moved on to the next style without tinkering with the pattern/ first sample more.
4) Refashion 27a: Gathered Raglan Top from Men's Dress Shirt
This eventually became the Dulcet Top that's in the shop. But getting there was pretty much torture for me. In summary, the process for this top was:
- Sketch the design
- Drape a sample
- Transfer to pattern
- Sew the first sample
- Refine the sample
- Alter the pattern
- Sew the second sample
- Refine second sample
- Alter the pattern
- Sew the third sample, refine it, alter the pattern
- Lather, rinse, repeat
- Sew the top in its final form
- Then grade the pattern into multiple sizes, but I'll get to that later
Honestly, I wasn't unhappy with this first sample. I like wearing it and have gotten compliments. But when I thought about how much better it needed to be in order to be sustainable, a closet staple someone else would love and pretty much wear to death, it needed some changes:
- Silhouette is straight from the front but a-line when looking from the side. Decided to make the whole thing a-line and hit at high hip.
- Neckline was higher than I wanted it to be.
I thought I'd make those changes, make a perfect second sample, and we'd be ready to production sew! Not the case.
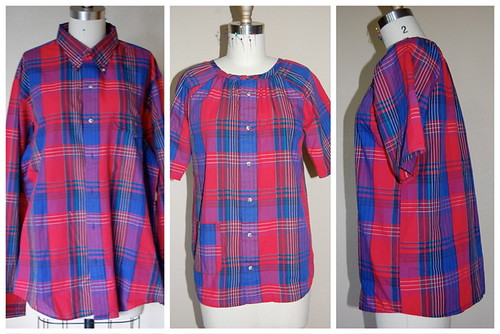
5) Refashion 27b: Gathered Raglan Top from Men's Dress Shirt
Well, just look at it. Not ideal. When you mess with patterns, there's a very real chance that when you change one thing, it will affect something else that you might not have considered. I'm pretty comfortable modifying patterns for tops with set-in sleeves, but obvz. was thrown by the raglan style:
- Neckline binding too short
- Too much fabric in the sleeves
- Never again use seersucker for this top b/c the fabric is too stiff, won't drape well
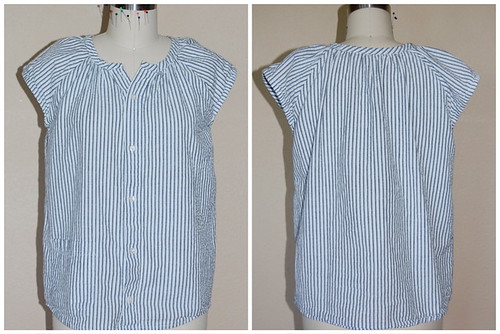
I didn't photograph the third sample because it is pretty close to the final Dulcet top. Anyway, the point is it took 4 samples to get it just as I wanted it. Which is why people work far, far in advance of the season they are designing for. Which is why I learned my lesson and am working on Fall/ Winter ideas now, as I boil. (BTW, 52 days over 100 degrees so far this summer.)
6. Pattern grading
For the average home sewist, pattern grading is about using a commercial sewing pattern and drawing a new line from a smaller size for bust to a larger line for hips, or something to that effect. Maybe it means buying a sweet vintage pattern that's too big and drawing a new set of seamlines to get one size smaller.
Until this experience I had never done the manual pattern grading, garment industry-style, for multiple sizes. This involves taking your sample pattern, which is usually in the middle of your size range, cutting it along various vertical and horizontal lines, and separating by fractions of an inch to grade up, or overlapping by fractions of an inch to grade down.
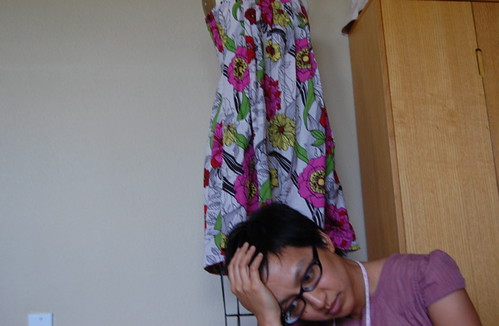
Now that I've done it, I could grade another pattern much more quickly and less painfully. But that first time, it was tough. I felt overwhelmed by the many pattern pieces now scattered about the floor like a puzzle. Louis was walking around the house with my camera, practicing his composition, and he snuck up on me and took this picture, which in retrospect says it all:
There are many more lessons to share, but another time. :)


 Posts
Posts

